In many games, it is handy to be able to mark another token, and show that your character specifically has marked that character. In games of Dungeons and Dragons, there is the ablity Hunter’s Mark, were Rangers can mark an opponent and get a bonus against them. But in any game, you might want to show that, “This is my target, and that’s who I’m targetting this turn.”
For some abilities, you might only be able to mark one opponent at a time. When you mark a target, your old mark is removed. But some abilities might work differently – maybe you have an ability that works against all goblins so you mark all goblins.
Install this script, and you can do either. A later version of the script might allow the same character to use both abilities, and indeed multyiple copies of the same ability. But for now, you must choose just one ability.
How To Initiate The Script
Make sure you have the script Installed, and then type in chat !hunters-mark (you might use this as the text of a macro). When you press Enter, you’ll see the help text for the script:
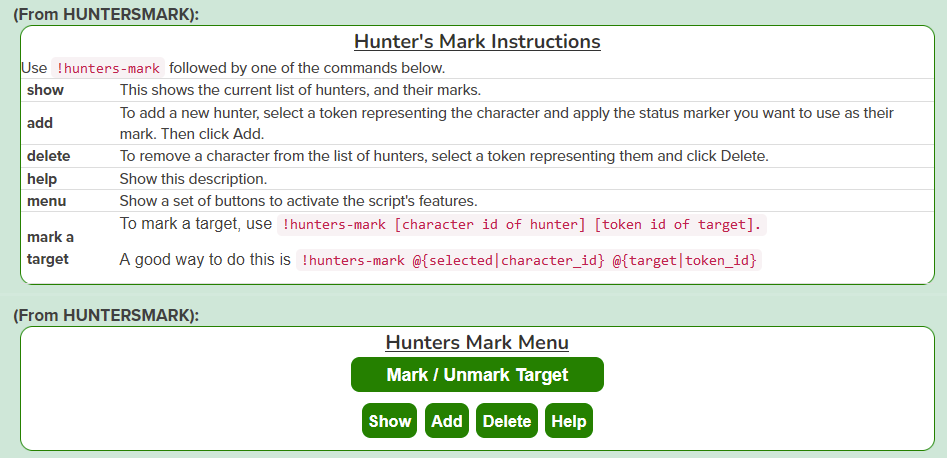
You’ll also get the Hunter’s Marl menu at the end. That’s all you really need. I’ll now show you how to use it.
How To Set Up Your Character
Each campaign has a set of status indicators. Select at your token, and notice that cog at the bottom left. When you click it, you’ll see a bunch of Status Indicators, and can assin them to your token.

Pick an indicator to be YOUR indicator. You’ll be able to mark other tokens with this indicator. But for now, assign that indicator, and only that indicator to your character – you can see the token above has one indicator marker.
Note: you cannot choose anything on the top row. Roll20 reserves them for its own use.
So, assign one indicator to your token, and then click either the Hunter or Bard button on the Hunter’s Mark Menu. Click Hunter if you can only mark one token at a time,and click Bard if you can mark multiple tokens with the same symbol.
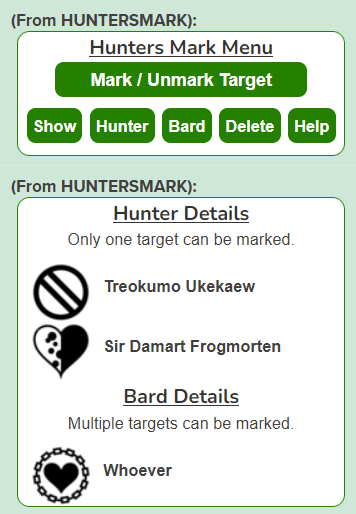
See below the buttons, lists of which characters are in which group, along with the marking indicator. Once your character is set up, you can remove the indicator from that token. Your Token is set up now.
Marking Other Tokens
This is simple. Just click the Mark Other Tokens button, and click another token.They will be marked.
If you want to create your own macro for this, use the following (this is whatt he button does):
!hunters-mark @{selected|token_id} @{target|token_id}
And there you have it.
Future Steps
The script works perfectly, but I may look into ways to let a token use multiple modes if that’s in demand.
