When you create a roll20 character sheet, you can set it up to automatically translate its text. This means, that if you write it in France, someone in Sweden or Britain can use it with no changes needed, and see the sheet in their own language.
There are many sheets in Roll20 that can only be used by people of one language (usually, but not always, English). But if you use the translation feature, your sheet is immediately available in multiple countries with no work needed for each country. This is pretty nifty, and very useful.
How Does It Work?
Creating a sheet that translates itself automatically takes two steps. Both steps are pretty straight-forward, even easy, but are a bit laborious. (There are ways to make things ‘easier’, which take some setup so they are described later.)
- Step 1: choose which parts of the sheet you want to be translated, and add special tags to those parts.
- Step 2: Create a
translation.jsonfile. This is extremely simple – don’t be put-off.
There’s a page on the roll20 wiki for translations. While the wiki is almost always helpful, in this one case I strongly recommend ignoring that page. The information there is confusingly written, has some information that is out of date (and wrong), and easily becomes overwhelming. It is probably the most confusing and useless page on the wiki.
The guide on this page and future articles will hopefully describe what you need to know in a more approachable format. As long as you understand the basics of HTML, the system is pretty simple and elegant.
Step 1 – Tagging The Sheet
When creating a sheet, there’s a lot of visible text as well as code the player never sees (unless they gop digging). For example, look at this attribute:
<span class="bold">Strength: <span>
<input type="number" name="attr_strength" value="10">Code language: HTML, XML (xml)
Here we have a span for the attribute name, and an input to contain the attribute value. Now think of how much of this actually gets shown on the sheet. On the sheet, that will look something like this:
Strength: 10Code language: Markdown (markdown)The rest of the HTML is not visible, so that doesn’t need to be translated. The numeric value of the score doesn’t need to be translated – numbers are the same in most languages. So you only need to look at the label for the attribute name.
Adding the Translation Tag
Notice how there is already a tag for class. You can manage translations simply by adding a data-i18n tage, like so:
<span class="bold" data-i18n="strength-label">Strength: </span>Code language: HTML, XML (xml)This tag is added to the span element, so the text inside the span element is what is to be translated. Ill explain how that is done, shortly, but for now, understand this: you need to add a data-i18n wherever you want text to be tranlated.
You can repeat the tag if the text is the same. If I had another Strength: title somewhere in the sheet, I could add the data-i18n="strength-label" tag and it will have the same translation.
Create as many tranlations as you want, and then create the translations.js file.
Creating The Translations File
For this step, you need to know how to look at the console tab of your browsers devtools. You should already know how to do this – it’;s very useful when creating sheet workers. But if you don’t know, right-click anything on you page and select Inspect or Inspect Element.
That will open the DevTools. Click the Console tab. On my browser, when I do it on this page, it looks like this:
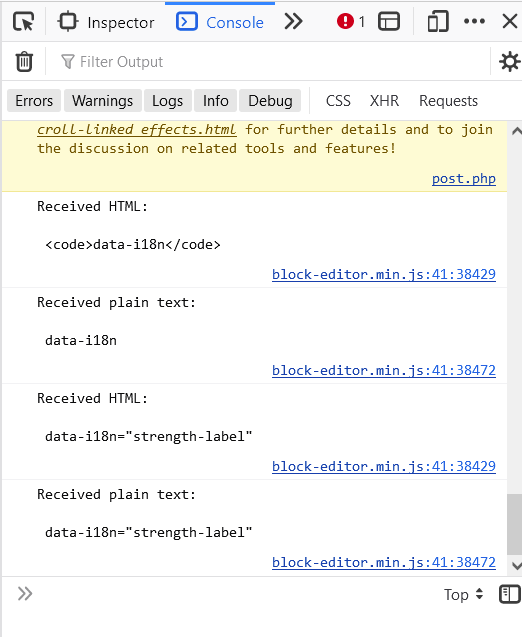
Ignore everything here. Notice there’s place to type, right at the bottom. Into that box, type i18nOutput and press enter.
When I do that, I might get something like this:
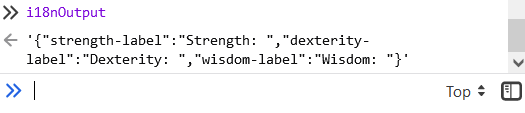
The command searches through the sheet to find all i18n tags, andcopies them into simple block of text. Copy out this block and put in a new text file, and save that file named translation.json
There’s one thing to be aware of: copy from the first { to the last } – don’t include that ' quote symbol.
JSON Formatter
As an optional step, you can paste the text into a JSON formatter to get a formatted version of the code. For example, when I copy my code into such a formatter, it becomes this:
{
    "strength-label": "Strength: ",
    "dexterity-label": "Dexterity: ",
    "wisdom-label": "Wisdom: "
}Code language: JSON / JSON with Comments (json)
There you can see it has created a list of tags and their English translations. Any real character sheet will have a lot more tags than this.
Submitting The Sheet
Submit this translation.jsonhtml, css, and any other files in your character sheet. The translation will then appear almost automatically. There might be a small delay.
How It Works
So, when creating the sheet, you create the list of tags. Then you create the translations file (a very simple process), then submit the new or updated sheet to the roll20 sheet, and people in other countries can use your sheet. It’s that simple. But how does it work?
The CrowdIn Service
Roll20 uses a translation service called Crowdin, where volunteer users translate the i18n tags. So different langauge uses would see, for example, the strength-label tag, and see that in English that translates to Strength: , and will then translate that into different languages. Roll20 gets the translations, and they are displayed to the appropriate countries.
Translation complications
This does create complications. You need to create a serate tag for every different format of your text, and the translator has to make their best guess at your intention. It’s become a common convention to add suffixes to show the casing used. For example:
strength-ubecomesSTRENGTHstrength-lbecomesstrengthstrength-tbecomesStrength
In these examples, -u denotes upper case, -l indicates lower case, and -t is for title case. If you are consistent throughout your document, your translators are more likely to realise what you are going for.
Further Exploration
You can build translation into a shoot from the start or add it later. You can translate parts of a sheet, and leave the rest to be translated later. It’s easier to include translations from the start than add them later – that’s so much work! (But we’ll describe a way to make that much simpler, later.)
Translations area valuable thing to add to a sheet if you want it to useful outside of your native language. It will instantly become available in many languages, all without you knowing a word of another language.
There’s a lot more you can set up for translations, like popup text and placeholders, and there are considerations for special circumstances. Those will be covered in following posts, but in this post, we’ve described the basic process. This should handle most of your needs.
