Adding the translation text to a sheet is tedious and time-consuming. Wouldn’t it be nice if you could just click a button (or type a short string of letters), and have them all added instantly and automatically? Well, now there’s a very recently released tool that does exactly that, called the K-scaffold Translator.
Once it is installed, these are the steps you need to follow:
- In VS Code, open the folder continuing your HTML file.
- In the VS Code terminal, type
npx @kurohyou/k-initand click enter. - And there you have it, your HTML file is updated with your translations (and a
translation,jsonfile is created!). - If you change the file later, just run it again and new translations are added.
That’s it. Once installed, it is very simple to use repeatedly. The rest of this post is to explain each of the steps in lots of detail, but once you’ve done it once, it’s really simple.
Before I show you how to get it up and running, a quick note: This tool is by Scott M, an extremely expert Roll20 creator, the maker of the excellent (though extremely complex) K-Scaffold tool. Luckily, this translation tool is much simpler to use.
Getting The Tool Set Up
There are two installations you need before this will work. Installing them both is really simple. If you have installed any program before, this will be old hat.
Step 1: Install VS Code
You are already using VS Code, right? This is a very useful tool, especially when using the Custom Sheet Sandbox to develop your sheets (which you should be using).
If you don’t have it, go to the Official Download Page, and click the prompts till you have it installed.
Step 2: Install Node.JS
Node is a tool beloved by programmers, but don’t worry – for this you just have to have it installed on your system. You can forget about it once it’s installed. You don’t have to do anything with it directly – it just has to be there.
Go to the official download page and click the link on the left. You don’t need the Latest Features link – that is for those who like to live on the bleeding edge.
This install procedure was a bit trickier for me. You shouldn’t have to do anything other than click various accept buttons, and wait a bit longer and let it finish.
Conclusion
And that’s it. Follow these two steps and you’ll be ready to go.
- Install VS Code
- Install node.js.
We’ll now look at how to use it.
Using the K-Scaffold Translator
Method 1: Open Directly
I was going to say the easiest way to run K-Scaffold Translator, but it turns out this is a multi-step process.
First, use the right-click menu. Navigate to the folder for your HTML sheet, right click a HTML file, and select Open With Code.
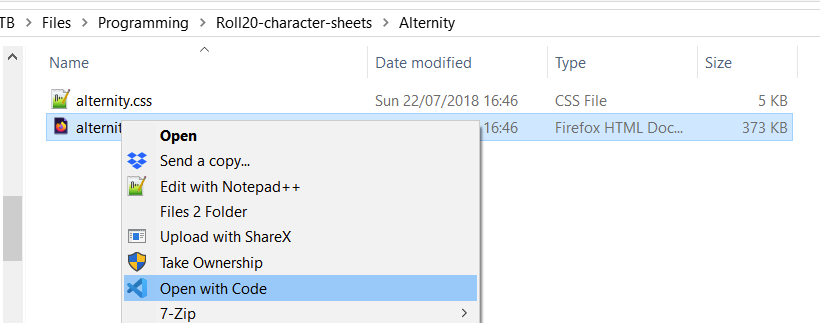
Here’s an example. Your right-click menu will look differently from mine, but you should have Open With Code somewhere near the top. If it’s not there, there’s another way.
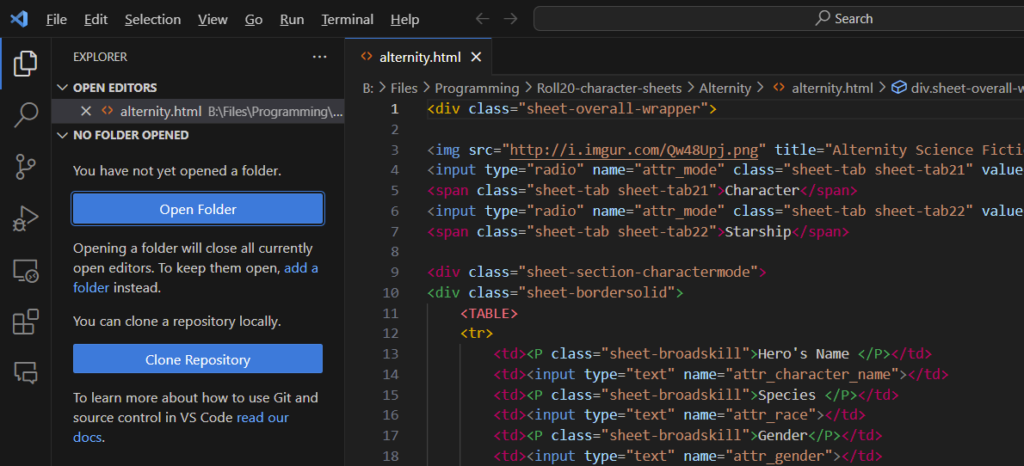
One the file is opened, click the file-like icon at the top left to see a layout like this:
Click that big Open Folder button, which should be default open at your current folder:
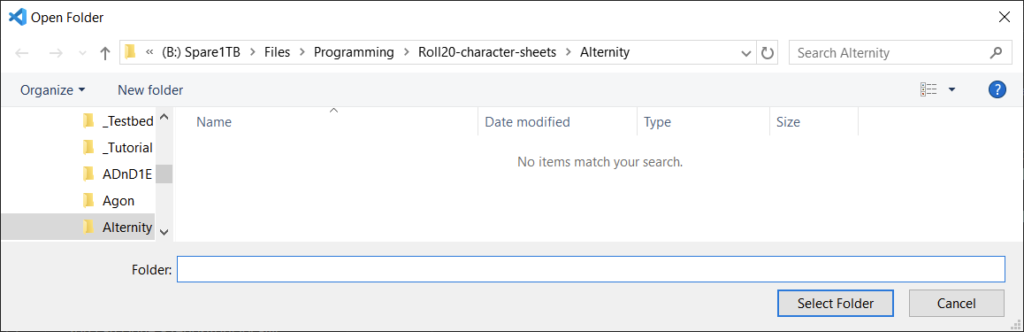
Click Select Folder, and you are done with this step. It’s actually pretty simple and straightforward, it’s just my exhaustive screenshots make it look complicated.
Method 2: Open Folder
If you don’t want to use that right-click method and want to go a different route, open VS Code. You should be greeted with a screen something like this:
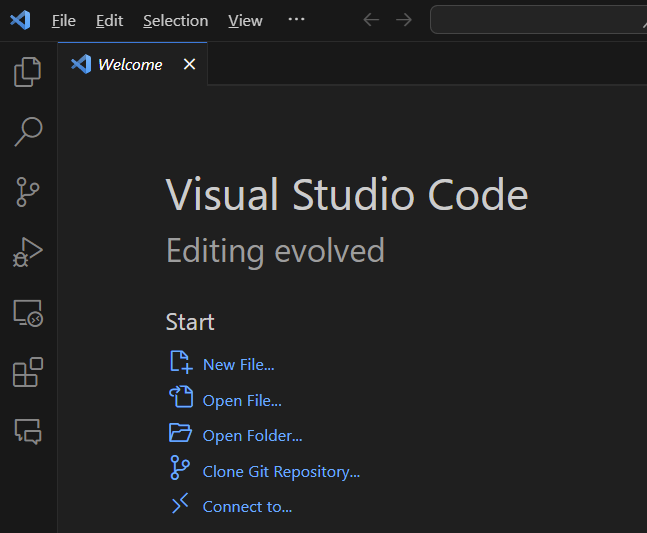
See that Open Folder? click that and go to the folder that contains your html file.
Using The Terminal
Once the folder is open (by either of the two methods above), you need to open the Terminal. This is a place you can centre text commands. It’s really easy.
At the top of the VS Code window, you’ll have a toolbar like this:

Just click the Terminal Menu, and select New Terminal.
Run The Translator
Now you have a Terminal that looks like this.
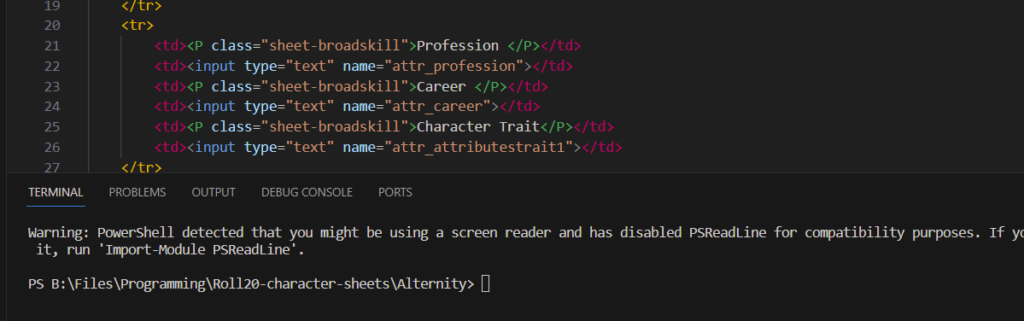
I’ve left in the view of the HTML file above it, but it’s the bottom part that’s important. Notice it has the current folder selected.
Now you want to type in the command phrase: npx @kurohyou/k-init. You can simply copy that text, place your cursor in the terminal window, and right-click, and it should automatically fill. You don’t need to manually type it. Now click enter!
Running The Translator
After a small pause, you’ll be greeted with this window:
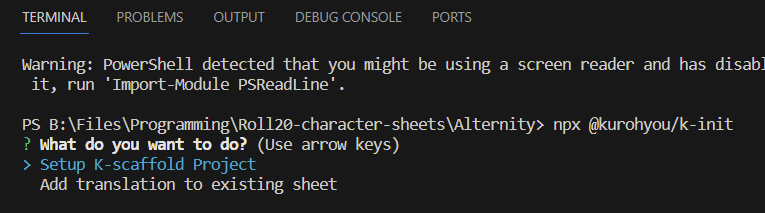
Click the down array to select Add Translation to existing sheet, click enter again, and that’s it. You’re done!
Looking at the Results
Now your HTML file is updated with translations, and the folder contains extra files:
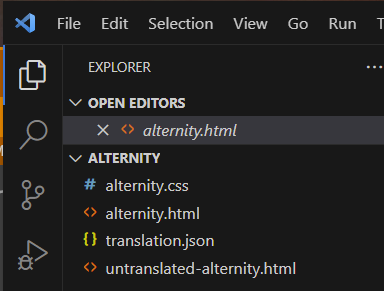
Notice the translation.json file is created for you. That’s great – you need that! Also, a copy of your original file before the translator ran also exists! If you don’t like that the translator has done, you can delete the new html file and go back to this one.
Here are the top two code lines from the file I just translated:

Notice that a normal data-i18n entry doesn’t make sense here, but the entry for title has been added. The program will add titles and placeholders were called for.
Conclusion and Praise
I think it’s fair to say that I’m never going to make a sheet again without using this tool. It’s just that essential. Even if you are manually creating your own translations, it will find things you’ve missed or forgotten, and fix typos in your code. And you can just forget about translations and run this at the end. It’s amazing.
There are probably things you still need to know how to do, but it’ll handle all the commonly created stuff. Thank you, Scott.
Here’s a reminder of the steps to follow:
- Install VS Code and Node JS
- Open VS Code
- Open the Terminal
- Make sure your folder is pointed at the sheet you want to run.
- Type (or copy):
npx @kurohyou/k-init - From then option menu that pops up, select Translate the Sheet
- And that’s it – your translations are created.
Have fun!
