A selector is just a fancy name for, “The thing that says what CSS affects”. When you do this:
div.blue {
   color: blue;
}Code language: CSS (css)
div and blue are both selectors – they “select” the part of the character sheet to affect.
There are a lot of different selectors and a lot of ways in which you can combine them. This might be the most technical post in the series. But don’t worry – you don’t have to read and understand everything. The selectors are listed in order of importance – Basic Selectors and Relationship Selectors being the ones you’ll use the most.
These are the common selectors which have already been used in many examples in posts in this series. When you do this:
div {
   color: blue;
}Code language: CSS (css)
div is an Element Selector. You are targeting your code against all div elements in your sheet. When you do this:
.blue {
   color: blue;
}Code language: CSS (css)
blue is a Class Selector. You are targeting your code against everything with class=”blue”.
div.blue {
   color: blue;
}Code language: CSS (css)
In this case, div and blue are both selectors, but doing this is more precise: you are targeting only divs that also have a blue class. You are using an Element and Class selector together.
The final common selector is the ID selector (and it’s only supported when using CSE – which you will be unless modifying an old sheet).
<div id="blue-div">Code language: HTML, XML (xml)#blue-div {
color: blue;
}Code language: CSS (css)ID’s must be unique, and target one specific element in your sheet. If you need to combine them with elements or classes do it like this:
div#blue-div.blue {
   color: blue;
}Code language: CSS (css)
But usually, there’s no need for that. An ID is usually enough on its own.
You’ll find most pages on Selectors call this type of Selector a Combinator, but it’s easier to think of them as relationships. Here’s an example:
<div class="top">
   <h2>A heading</h2>
   <input type="number" name="attr_example" value="10">
   <div class="bottom">
       <h2>Some More Text Here</h2>
   </div>
</div>Code language: JavaScript (javascript)
The top div is the direct Parent of an h2, an input, and another div. Those elements are Children of the div and Siblings of each other.
The input is the Next Sibling of the h2, and the bottom div is the Next Sibling of the input.
The last h2 is a Child of the bottom div and has no Siblings.
All elements except the top div are Descendants of the top div.
Using these Relationships
div.top h2 {} /* selectors seperated by a space refer to descendant. This catches both h2s. */
.top > input {} /* The > refers to direct Children, but not descendants */
h2 ~ div {} /* ~ refers to Siblings - so if there's a div following a h2, where both have the same Prent */
h2 + input {} / + refers to Next Sibling:
Code language: PHP (php)
These relationships, especially the Descendant selector, are very important, and you’ll likely use them a lot.
The Sibling and Next Sibling selectors are used a lot combined with the Attribute selectors to hide or reveal things with CSS.
Many elements have HTML Attributes. Anything which has an = is an attribute – this includes (among other things) class names, roll button values, and input types and values.
You can target these with attribute selectors.
input[type=number] {}Code language: CSS (css)targets all number type inputs, and this:
input[type=number].my-number {}Code language: CSS (css)targets all number inputs that have class=”my-number”.
input[type=hidden].toggle[value="1"] {}Code language: CSS (css)This targets all hidden inputs with class=”toggle”, which also have a value = 1.
Restrictions
When testing an attribute, you must match the text exactly. You cannot do [value>”1″] – equals is the only possible comparison.
Generally, you only need to use quotes of comparing against a numeric value (to turn it into a string) – for words, you don’t need to use quotes.
Advanced Rules
There are special comparisons you can use.
- [attribute^=value]: attribute begins with value
- [attribute$=value]: attribute ends with value
- [attribute*=value]: attribute contains value
- [attribute~=value]: value is a list of comma-separated values, one of which matches attribute exactly.
- [attribute=value i]: adding an i to the end of any rule means that it ignores the case; otherwise it is case-sensitive.
Here are some examples:
input[type^=n] {} /* will match number types*/
input[type$=n] {} /* will match hidden types */
button[type=roll][*="1d20"]
   /* matches all roll buttons that have a d20 roll in their value */
input[value~="0","1","2"] {}
   /* matches any input that has a value of 0, 1, or 2.*/
input[class~=red,blue,green] {}
   /* matches any input that has a class of red, blue, or green. */
input[class*=en] {}
   /* matches any classes containing the letter e - for example, it would match green, but not red or blue */Code language: CSS (css)
Pseudo-classes are special states that an element possesses (often temporarily), or describes a relationship.
State Pseudo-Classes
There are a lot of pseudo-classes that describe an element’s current state. Here’s a small selection of useful ones:
- :not() – I use this by far more than any of the others. See an example below, and also Hide And Reveal Sections in CSS.
- :hover – the user is pointing a mouse at it.
- :active -when an item is being clicked on (for instance, which radio button or tab is currently active).
- :focus – an element that has focus (the user has tabbed or clicked into an input, or selected a tab).
- :focus-within – matches an element that has focus, and all parents of this element (going all the way to the top).
- :disabled – elements that have been disabled (there’s also enabled).
- :read-only – any element that can’t be edited by the user.
input:not([value="0"]) {display: none;}Code language: CSS (css)Relationship Pseudo Classes
This scary name hides the most useful of the Pseudo-classes. These will get a future post of their own since they take some explaining. Here’s a sampling:
- nth-child:
- nth-last-child:
- :first-child
- :last-child
- :only-child
- :nth-of-type
Pseudo-elements are special selectors that let you check part of an element. While they are listed as using ::, a single colon usually works too.
span::first-letter {font-size: 150%}
textarea::first-line {color:red;}Code language: CSS (css)
Here’s a smattering if you want to try them out. I’ve only ever used one, and I’ll explain below the list why.
- ::first-letter
- ::first-line
- ::before
- ::after
- ::selection – the part of an element the user has selected.
When trying to style Roll20’s buttons, you need to use ::before element to get rid of the dice image, like this:
button::before {
    content: "" !important;
}Code language: CSS (css)
I’ll discuss !important in Specificity, the very next post. (There’s a better way to do this btw.)
Multiple Selectors
You can normally combine multiple selectors, but you can’t do that with Pseudo-elements. You need to create completely separate rules.
The * symbol indicates the universal selector and applies any declared properties to everything it can (when not overridden by a more specific rule).
* {
   text-align: justify;
}Code language: CSS (css)
However, Roll20 is different from most sites, and this is not a safe rule to use here. Remember the character sheet is not the full webpage – it’s just part of a bigger page which includes the battlemap, chat sidebar, and more.
Roll20’s security blocks our changes from affecting much of the webpage outside the character sheet, but you might still affect things you don’t expect to.
There is one really good use of the universal selector on Roll20: in combination with Inspecting the Sheet, you can find out which classes and elements you can affect.
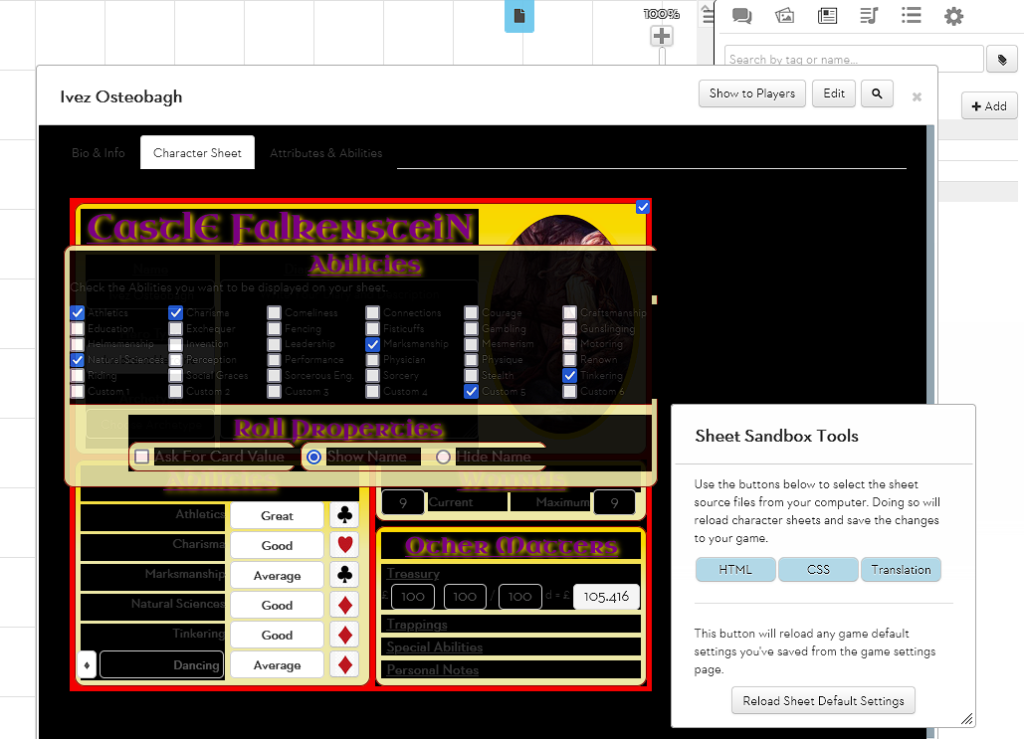
Here is the universal selector, with background: black. Notice how many things outside the character sheet are not affected, but there are some things you might not realise you can affect, like the three tabs at the top of the character sheet and the frame they are contained within.
You can use this knowledge to create character sheets that affect the interface in interesting ways.
Testing Selectors
You can test selectors at the W3 Schools page. This is a great page to help you understand what each selector covers.
