- Setting Up The Handlebars Character Sheet Generator
- Basic Templating with Handlebars
- Handlebars Templating: Things Get Complex
- Handlebars Templating: What are Helpers?
- Handlebars Templating: When You Want to Stop Handlebars
- Handlebars Templating: Nesting in All Its Forms
- Handlebars Templating: Handling Generator Errors
- Handlebars Templating: Helpers
- Handlebars Templating: Partials
I’m going to showcase how useful sheet templating is by showing how use the Handlebars tool created by PrimalZed. This article will show you the step-by-step process for getting it installed. It may seem like a long process, but that’s only because I’ve shown every single step with screenshots. It’ll only take a few button clicks in reality.
Before I start, a warning. Once you start, you are pretty much on your own (apart from articles on this site). Any documentation you find online will be (a) useless, or (b) for a different version of Handlebars (the one not using this tool), and probably won’t help you solve the problem you are having. Setting those two problems aside, this tool is really useful, I have been using it extensively, so I’ll show how it can be used for a Roll20 sheet. Seriously, you’ll be amazed at some of the things you can do easily now.
But before we can do anything with it, we need to get it installed.
Installing The Program
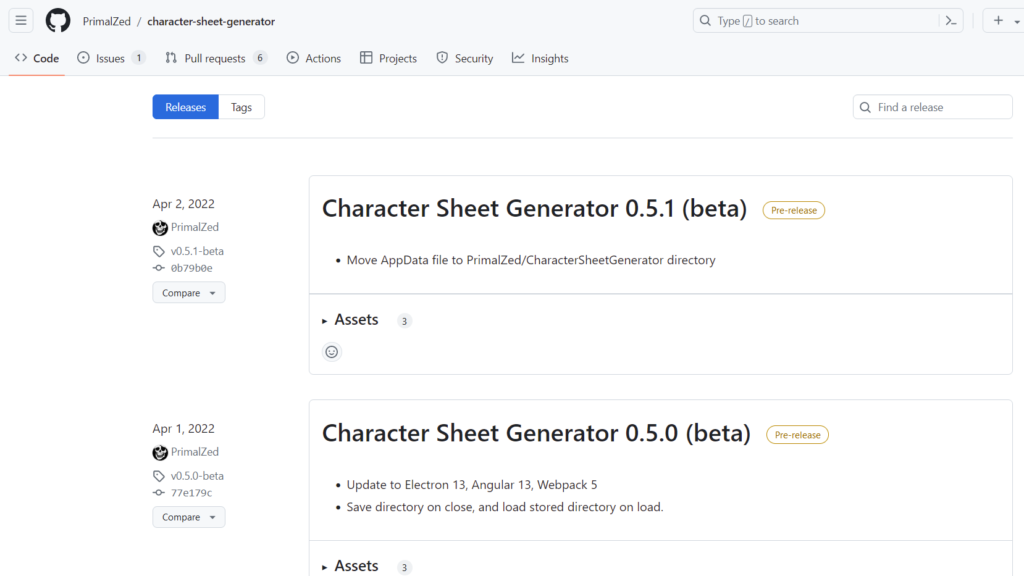
The first thing you need to do is go to its download page on Github. That takes you to the releases page (the past releases), which looks like this:
You want the latest release, so click that Assets arrow, and you’ll see something like this (though the number will be higher):
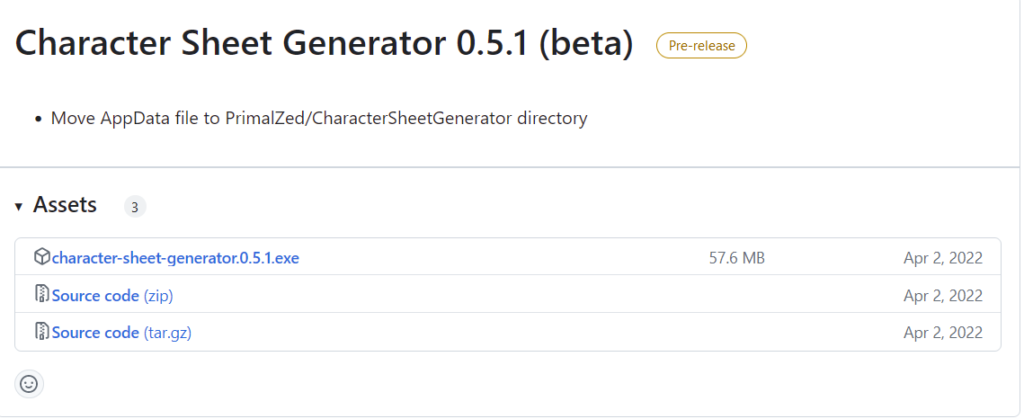
It’s the exe file you want here – click that start downloading it. Once it’s downloaded, it’ll look something like this in your download folder:
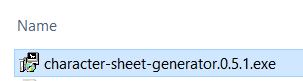
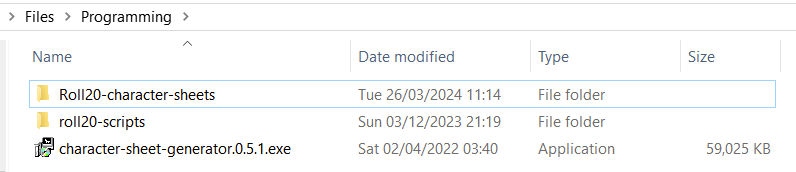
That .exe might not be visible at the end, depending on your windows settings. You want to move that file to a convenient place. I always put it above the folder I will be creating character sheets. Like this:
Now here’s the tricky part. The first time you run that file, Windows will try to protect you from yourself. You’ll see something like this:
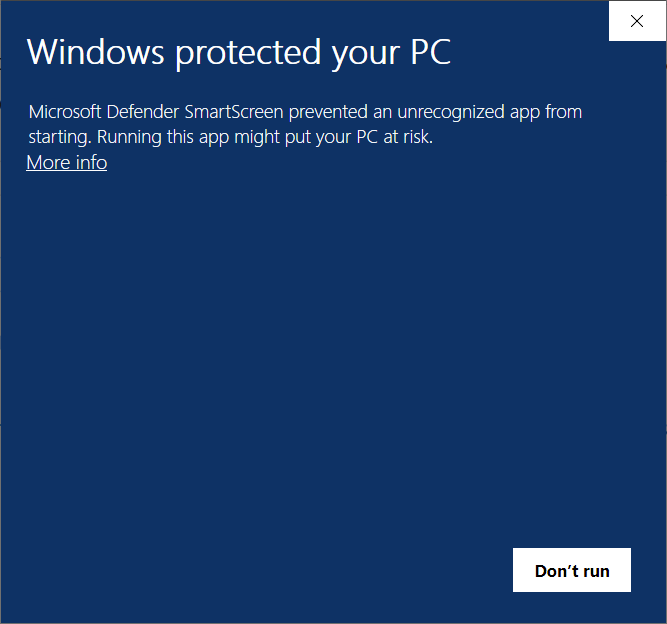
This can be scary the first time you see it. And generally you shouldn’t be running files you don’t know are safe. But this one is safe, so click More Info, and the blue form will change slightly.
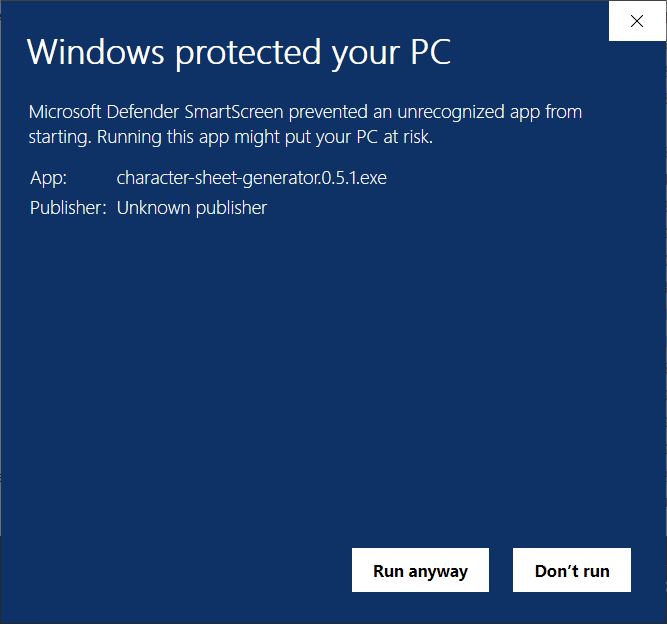
You now have a Run Anyway button at the bottom, so click that and wait a few seconds. Then you’ll get a form like this:
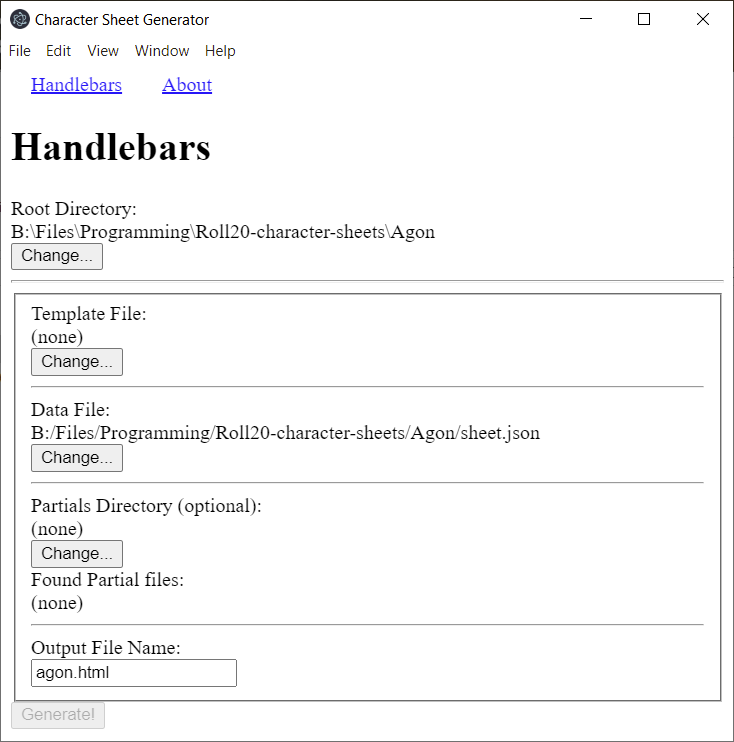
This image shows some entries because I have been fiddling with a character sheet and it always remembers that last one you worked on. You won’t get that blue screen anymore – once you have decided to Run Anyway, Windows remembers that choice and doesn’t prompt you anymore. (As long as you leave the program file in the same location. If you move it, you’ll probably see it again.)
For your projects, you will generally need to select a folder (the very top Change button), and you might need to enter a file name at the bottom (something.html). Don’t worry about Partials for now – you can safely ignore it.
A Handlebars Project
For each handlebars project, you need exactly three files:
- [file].handlebars
- [file].json
- [file].css
Create three empty files – I always use the same name before the dot, like templ;ate.handlebars, template,json, and template.css. This makes the files easier to identify.
The JSON file shouldn’t be completely empty – type this:
{}
Yes, just a pair of curly brackets, and now you are ready to go. I created these files in a folder I called template, and moved to that folder so now the window looks like this:
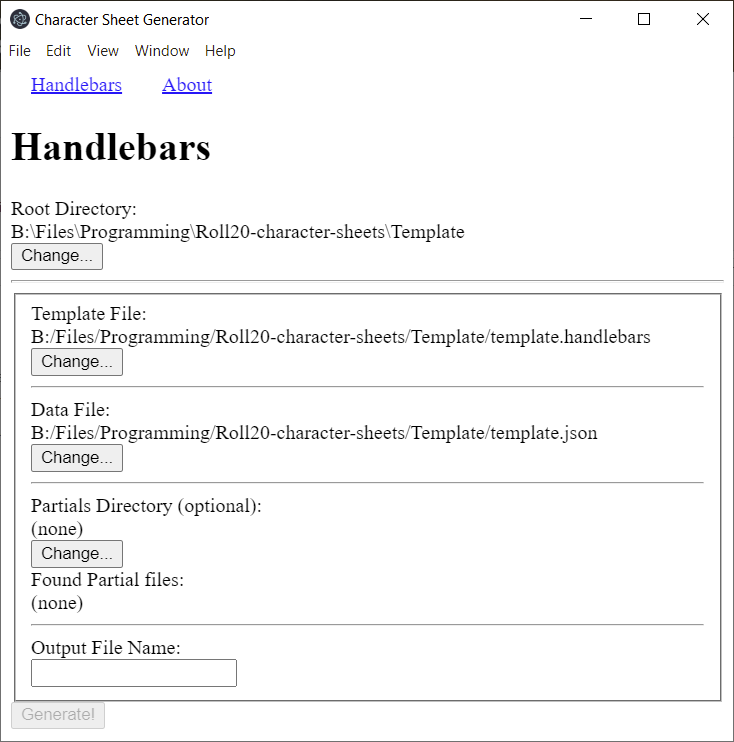
I entered the text template.html in the empty box at the bottom, and clicked the Generate button (which is now clickable). That created an empty html file. I am ready to start.
Once you have the program downloaded, creating a new folder is not really onerous but a little tedious (creating those 3 empty files and typing in a html file name!), but from here on you are able to create your project.
Using the Custom Sheet Sandbox
We assume you are using the Custom Sheet Sandbox. You should always be using this when creating a character sheet in roll20 – it is so much easier the the Custom Code window.
Remember when using that you load the HTML file you are working on. When creating a handlebars project you have an extra step.
- Write your code into the Handlebars file (not the HTML file) and save it.
- In the Character Sheet Generator, click the Generate button. (This creates your HTML file.)
- Now in the Custom Sheet Sandbox, load the HTML file.
The new part here is to write your code into the handlebars file instead of the HTML. Handlebars files accomodate all the same code as a HTML file, plus the special handlebars coding which we’ll see soon.
Conclusion
And there we have it, you are ready to go. This process might sound complicated but it’s really not, and most of it only has to be done once. In the subsequent episodes of this series, I’ll show you how easy it makes creating new sheets.
